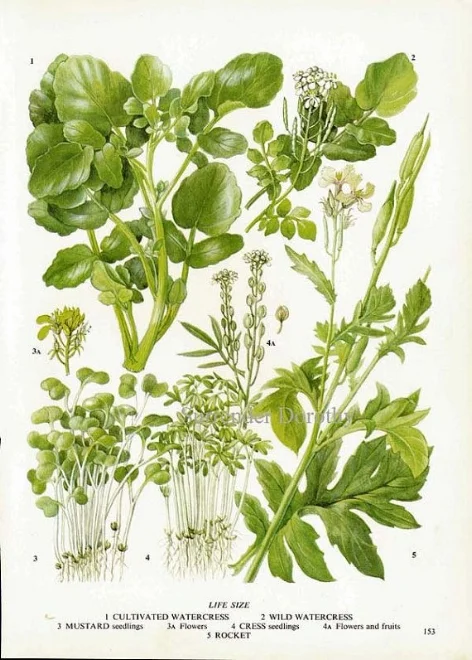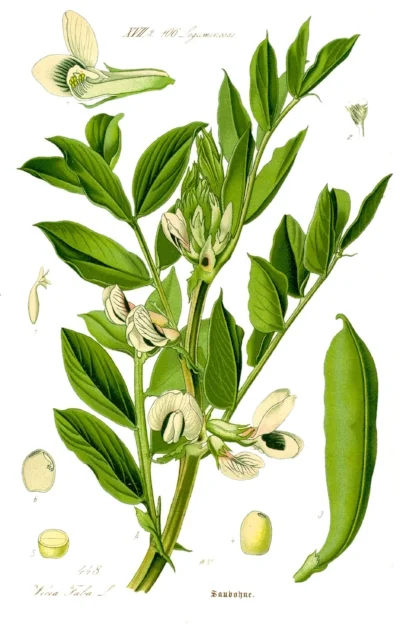
Watercress
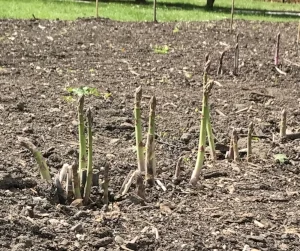
Watercress has a long cultivation and culinary history in England, it even has it's own festival in Alresford in Hampshire, the acknowledged home of watercress growing in the UK. Watercress is semi-aquatic and will grow wild on the edges of streams and rivers, it is cultivated all year round in specially created beds through which mineral-rich spring water flows.
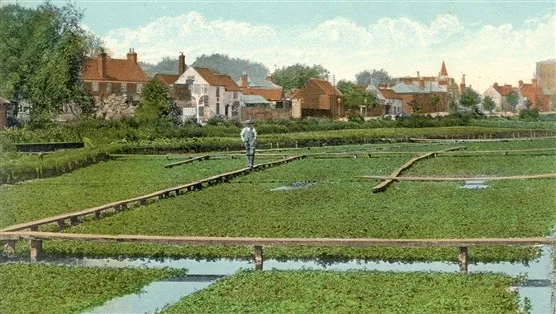
A traditional watercress bed
Lots of claims are made for watercress's super-food status, it is indeed rich in vitamin C, calcium and iron, along with useful amounts of vitamins K and A. To get the full benefits it is best to eat watercress raw but cooked it is still a great source of nutrients.
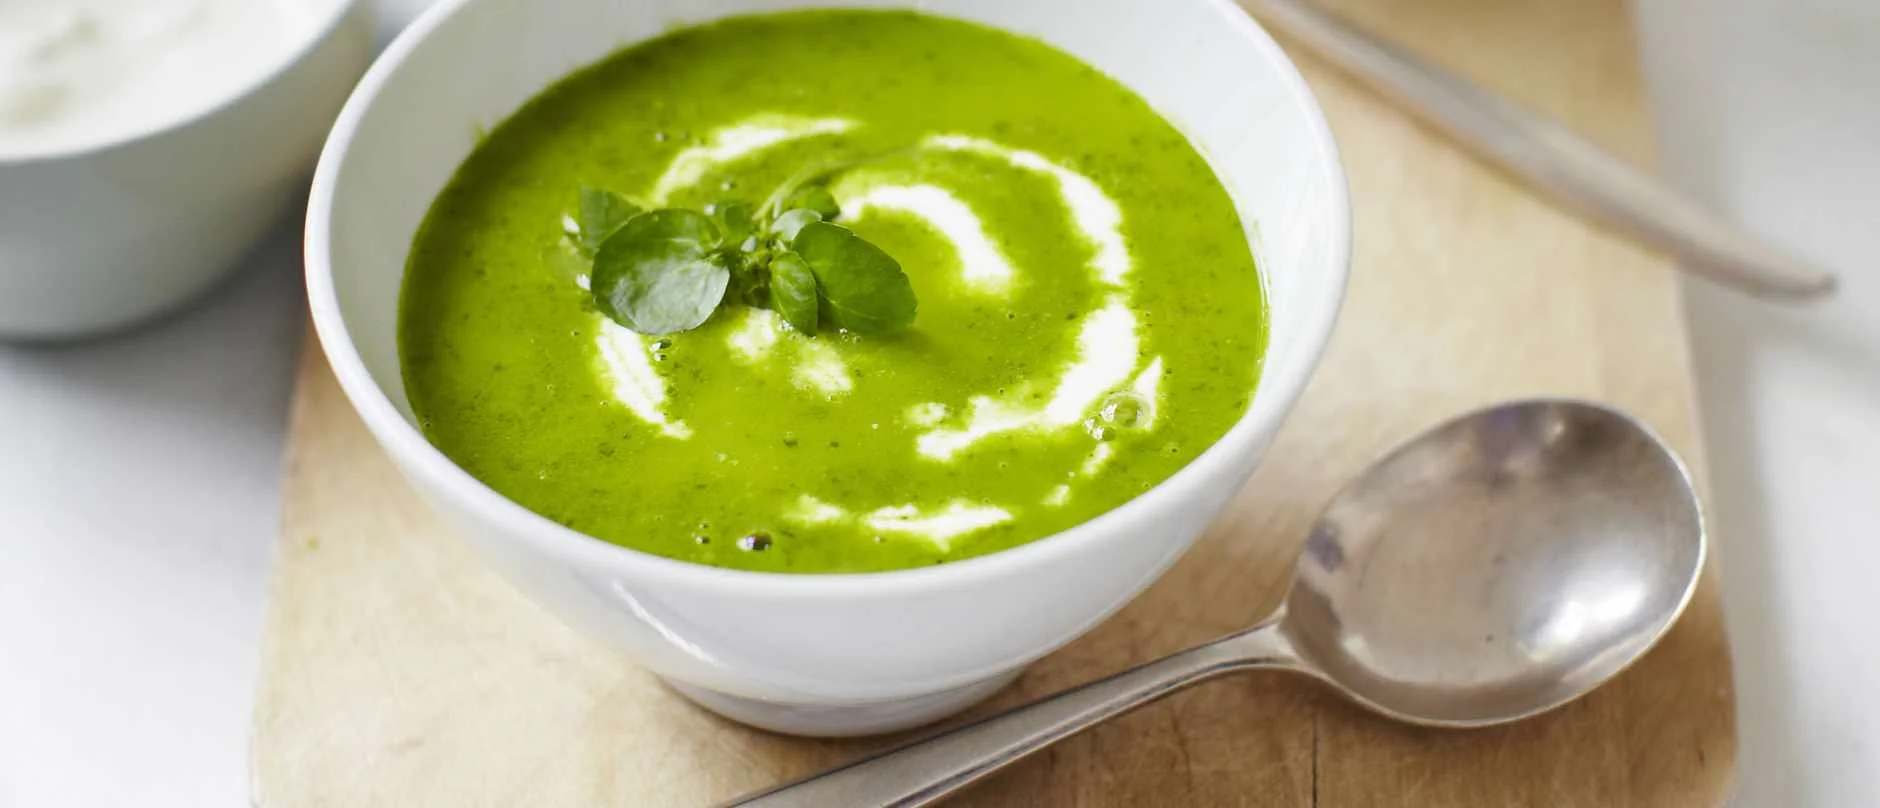
Vegan Watercress Soup with Cashew Nut Cream
Cashew nut cream is a good vegan alternative to dairy cream. This recipe is incredibly easy and very fresh-tasting. See below the soup recipe for the cashew cream recipe (note the cashews need a few hours soaking).
- spring onions 2, sliced
- olive oil spray
- garlic 1 clove, crushed
- watercress 140g bag
- rocket 100g bag
- parsley ½ a bunch
- vegetable stock 400ml, hot
- lemon 1, zested and juiced
STEP 1
Fry the spring onions in a spray of olive oil until soft. Add the garlic and fry for another minute before tipping in most of the watercress, all the rocket and parsley. Stir though until wilted, then add the vegetable stock. Bring to a simmer and season well. Blend until a stick blender until smooth. Add most of the lemon zest and season with a little lemon juice.
STEP 2
Divide between bowls, then add a tbsp of cashew cream to each bowl. Scatter with more lemon zest and watercress leaves to serve if you like.
Cashew Cream recipe
This recipe will make more cashew cream than needed, but it can be stored in the fridge for a few days. Or alternatively, freeze it.
cashew nuts 200g
step 1
Put the cashew nuts in a bowl and cover with water. Cover with clingfilm and leave for 2 hours.
step 2
Strain the cashews through a sieve and tip into a liquidizer or blender. Add 200ml fresh water and blend until very smooth. Add more water a little at a time to get the consistency required. Add a pinch of salt (or honey for a sweet version) and blend again. Tip into a container and cover.
Top cashew cream tip: If your blender isn’t powerful enough to make a smooth texture, you could always let down cashew nut butter with a little water to get a softer consistency.
From Olive Magazine
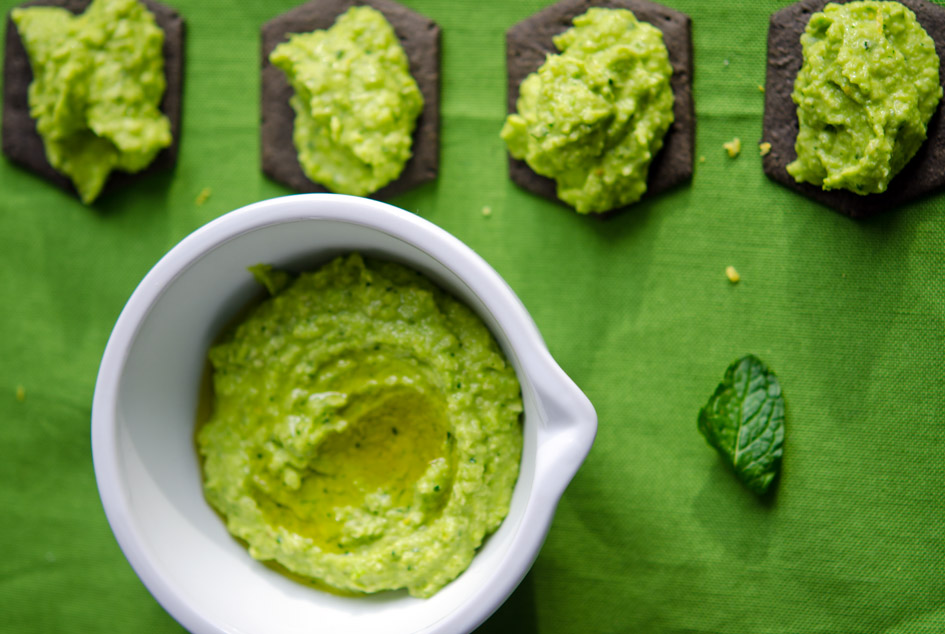
Baked Trout with Watercress Salsa Verde
Watercress has a special affinity with trout perhaps because they originally thrived in similar environments.
- 1 whole trout, scaled and gutted
- ½ bunch tarragon
- 1 lemon, sliced
- 150g/5½oz watercress leaves
- 3 tbsp chopped fresh flatleaf parsley
- 2 large spring onions, roughly chopped
- 1 garlic clove, roughly chopped
- 1 lemon, zest only
- 2 tbsp capers, rinsed and drained
- 2 tbsp dried breadcrumbs
- 3 tbsp extra virgin olive oil
- salt and pepper
Preheat the oven to 200C/400F/Gas 6.
Stuff the cavity of the fish with the tarragon and lemon slices. Place in the oven for 20-30 minutes (depending on the size of the fish), or until cooked through.
Meanwhile, bring a small pan of salted water to the boil. Add the watercress leaves and cook for a minute. Drain and refresh the watercress in ice-cold water.
Transfer the watercress to a food processor, add the remaining ingredients and process to a purée. Season, to taste, with salt and freshly ground black pepper.
To serve, place the whole trout on a large plate and peel back the skin. Pour over the salsa verde.
From BBC recipes
Although the Latin name for Watercress is Nasturtium officinale it is not related to the trailing flowering plants commonly known as nasturtium.